
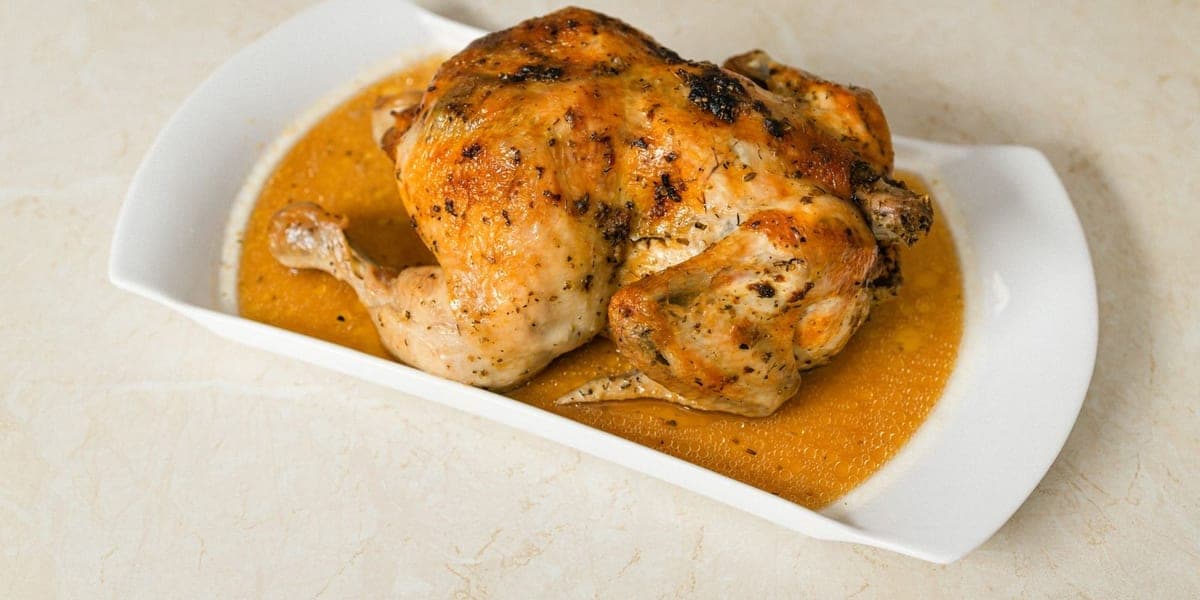
A roast can look ready before you know what is happening in its center. A burger can have convincing grill marks while leaving an unanswered question inside. A food thermometer makes that question measurable, provided you use the right kind of device in the right place.
The useful habit is small: identify what you are cooking, find its recommended internal temperature, and check before serving. You do not need to memorize an entire chart or turn dinner into a laboratory exercise. You do need to give the measurement a place in the cooking routine, alongside setting the timer and finding a clean serving plate.
Start with the food, then choose the target
An oven setting tells you about the cooking environment. It does not tell you the temperature at the center of your dinner. Equally, the number of minutes in a recipe is a planning aid, rather than a measurement of the food on your particular tray.
For everyday home cooking, the US government's FoodSafety.gov temperature chart, reviewed in 2024 and checked in September 2026, gives these minimum internal temperatures:
| Food | Minimum internal temperature |
|---|---|
| Chicken and turkey, including ground poultry | 165°F / 74°C |
| Ground beef, pork, lamb or veal | 160°F / 71°C |
| Whole cuts of beef, pork, lamb or veal | 145°F / 63°C, followed by a three-minute rest |
| Fish | 145°F / 63°C |
| Egg dishes | 160°F / 71°C |
| Casseroles and reheated leftovers | 165°F / 74°C |
Use the full chart for foods not listed here. A turkey burger belongs with poultry, for example, rather than with ground beef. The rest period for the listed whole cuts is part of the guidance, so include it in your serving plan.
These are household cooking guidelines. Specialist processes such as canning or sous vide need their own validated instructions.
Get familiar with your thermometer before dinner
Take the device out while the kitchen is still calm. Find the model instructions and answer three questions: where does it sense temperature, how deeply must it enter the food, and how long does a reading take?
The USDA Food Safety and Inspection Service's food thermometer guidance, checked in September 2026, explains that sensing areas differ between designs. Some dial thermometers need a substantial length of stem inside the food. A suitable thin digital probe can be easier to use with a thin cut. Do not assume that every device measures only at its very tip.
Check whether your model can stay in the oven or must be used for a spot check. Follow its cleaning and calibration instructions, and replace a failing battery before you need a reading.
Readability matters too. If the display is difficult to see, try the viewing angle before approaching a hot pan. Put glasses within reach if you use them. A tool that is easy to find and read is more useful than an impressive one that stays in its packaging.
Measure the part that needs checking
USDA's guidance on where to insert a thermometer, checked in September 2026, directs home cooks toward the thickest part, avoiding bone and gristle. For a thin food such as a patty, inserting from the side helps reach the center.
Think about the shape before you move the probe. A top-down approach to a shallow piece may take you through it rather than into its center. A sideways approach needs enough room around the food and a secure position for your hands.
For a whole bird, USDA advises checking the innermost thigh and wing areas and the thickest breast area, avoiding bone. Check separate pieces individually, and check several places in a large or irregular food.
Wait for the reading according to the device instructions. If it is below the target, continue cooking and check again. One sufficiently high reading in a thin corner does not answer the question about a thicker section.
Give the check a place in the recipe
When planning dinner, write the target temperature beside the recipe's cooking time. That separates two different jobs: the timer reminds you when to look, while the thermometer helps you decide whether cooking is complete.
For a tray of chicken pieces, your note might simply say: “Check each piece, target 165°F.” For pork chops, it might say: “145°F, then three-minute rest.” Keep the note where you can read it without handling your phone with messy hands.
If someone else is helping, agree on who is doing the final check. “I thought you checked it” is an avoidable handover problem. A short, specific message works better: “These pieces have been checked; those are still cooking.”
Serve side dishes around that decision rather than making the clock the final authority. If the main dish needs more time, it needs more time. Dinner planning becomes easier when you leave room for that possibility.
Make cleanup part of using the tool
A thermometer is a food-contact utensil. USDA advises cleaning the probe with hot, soapy water, while respecting the manufacturer's limits on immersing the device. Keep a clear distinction between the equipment used on raw food and the clean items used for serving.
Decide where the thermometer will go after a reading. A designated washable spot is easier to manage than setting it down among mail, towels or ready-to-eat ingredients. Clean it before another use as directed, and store it where it is protected and easy to retrieve.
Finally, keep the temperature chart available for next time. You may remember the number for a favorite meal, but a change from beef to poultry or from a whole cut to ground meat can change the target. The reliable routine is checking the category, checking the food, and only then calling dinner ready.
Photo: Maksim Goncharenok on Pexels. Illustrative serving photograph; appearance alone does not establish a safe cooking temperature.