
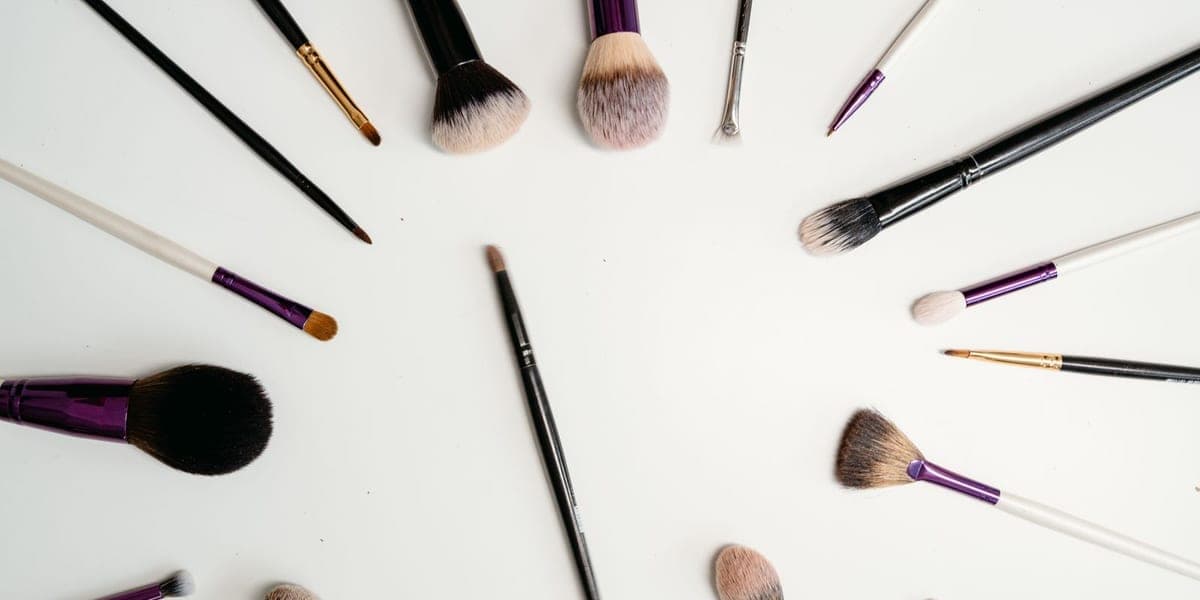
Makeup brushes are easy to overlook when you are deciding whether a product suits your skin. You may remember when you bought a foundation but have no idea when its brush was last washed. A workable cleaning routine starts by making that maintenance visible and leaving enough time for tools to dry.
You do not need a large collection or an elaborate cleaning station. What helps is a clear method, a place for drying and a way to tell which tools are ready to use. Cleaning is useful maintenance, but it cannot diagnose a rash or make a contaminated cosmetic safe again.
Start with the tools you actually use
Empty your makeup bag onto a clean surface and identify the brushes and sponges you reach for regularly. Keep the task limited to those tools at first. Sorting every drawer in the bathroom can wait.
Check the manufacturer's care instructions, especially for unusual materials or powered devices. Set aside anything damaged or no longer practical to clean. A loose brush head or crumbling sponge deserves attention before it goes back into daily use.
Make a small distinction between tools waiting to be washed and tools that are clean and dry. Two clearly labeled places can be enough. The goal is to avoid picking up yesterday's used brush simply because it sits beside the washed ones.
If you share a bathroom, make those places personal. Similar-looking brushes can be easy to mix up, particularly when several people are getting ready at once.
Wash brushes with a gentle method
The American Academy of Dermatology's brush-cleaning guidance, checked in September 2026, recommends washing makeup brushes every seven to ten days.
Its method uses lukewarm water and gentle or clarifying shampoo. Rinse the brush tips, then swirl them in a bowl of lukewarm water with a tablespoon of shampoo. Massage gently if needed, and keep rinsing and cleaning until the water runs clear.
Avoid immersing the entire brush head and handle connection. The AAD warns that soaking this area can weaken the glue holding the brush together. After rinsing, gently remove extra moisture with a clean, dry paper towel.
Lay brushes flat on a towel with their tips extending over the counter edge. The AAD advises against drying them upright, because water can run toward the glued connection. Do not share brushes.
Choose a drying location where the brushes will not be knocked onto the floor. Check that the arrangement is stable, especially if children or pets can reach the surface.
Give drying a place in the schedule
The cleaning appointment is only useful if it includes the time afterwards. Washing every brush just before you need to leave makes it tempting to pack damp tools back into a bag.
Pick a point when you can leave them undisturbed, such as after your last makeup application for the day. The precise time they need will depend on the tools and conditions. Check that they have dried before putting them away.
If you use makeup daily, plan a simpler routine while tools are drying. You might skip a step or use another clean tool intended for the product. This does not require buying a second full brush collection.
Set a reminder that names the task clearly: wash brushes and leave them out to dry. If reminders are easy to dismiss, attach the job to something already on your calendar, then adjust the timing when it repeatedly fails.
Treat sponges as a separate task
A weekly brush reminder does not cover everything in the bag. In its guidance on makeup and applicator care, checked in September 2026, the AAD advises cleaning makeup sponges after every use.
It describes washing with warm, soapy water, rinsing until the water is clear, squeezing out excess moisture and allowing the sponge to air-dry on a clean paper towel. Follow the tool's instructions as well.
Make this part of finishing your makeup rather than another task to remember at the end of the week. Put the necessary supplies within easy reach and clear a drying space before you begin.
Think about travel too. If your usual arrangement relies on a bathroom counter at home, decide how you will clean and dry tools while away. Packing fewer applicators can make the job more manageable.
Keep the products in the conversation
Clean tools do not reset a cosmetic's age or reverse contamination. Keep product containers closed and follow the manufacturer's storage and replacement directions.
The FDA's eye cosmetic safety guidance, checked in September 2026, advises washing hands before application and keeping instruments clean. It also warns against adding water or saliva to dried mascara. Reviving the texture can introduce contamination or interfere with preservation.
If you develop an eye infection, the FDA advises avoiding eye cosmetics until healed and discarding those you were using when the infection developed. Washing a brush alone is not an adequate response.
Keep a simple opening-date note if you struggle to remember when a product entered use. A small label on the container or a note in your phone can support the manufacturer's instructions without requiring a detailed beauty spreadsheet.
Know when to stop troubleshooting at home
A breakout or rash does not prove that a brush caused it. Product ingredients, skin conditions and other factors can also be involved. Avoid treating a new cleaning habit as a diagnosis.
The FDA advises stopping an eye cosmetic immediately if it causes irritation and seeking medical advice if irritation persists. Seek urgent assessment for eye pain or changes in vision rather than waiting to see whether washing your tools helps.
When you contact a clinician, describe the products and tools involved, when symptoms started and what you changed. Keep packaging or photographs of ingredient lists available. Those details are more useful than trying to name the cause yourself.
For ordinary maintenance, begin with a small routine you can finish: clean the brushes you use, leave them to dry and return them to a clearly designated place. Once that works, the rest of the makeup bag becomes easier to manage.
Photo: MART PRODUCTION on Pexels.